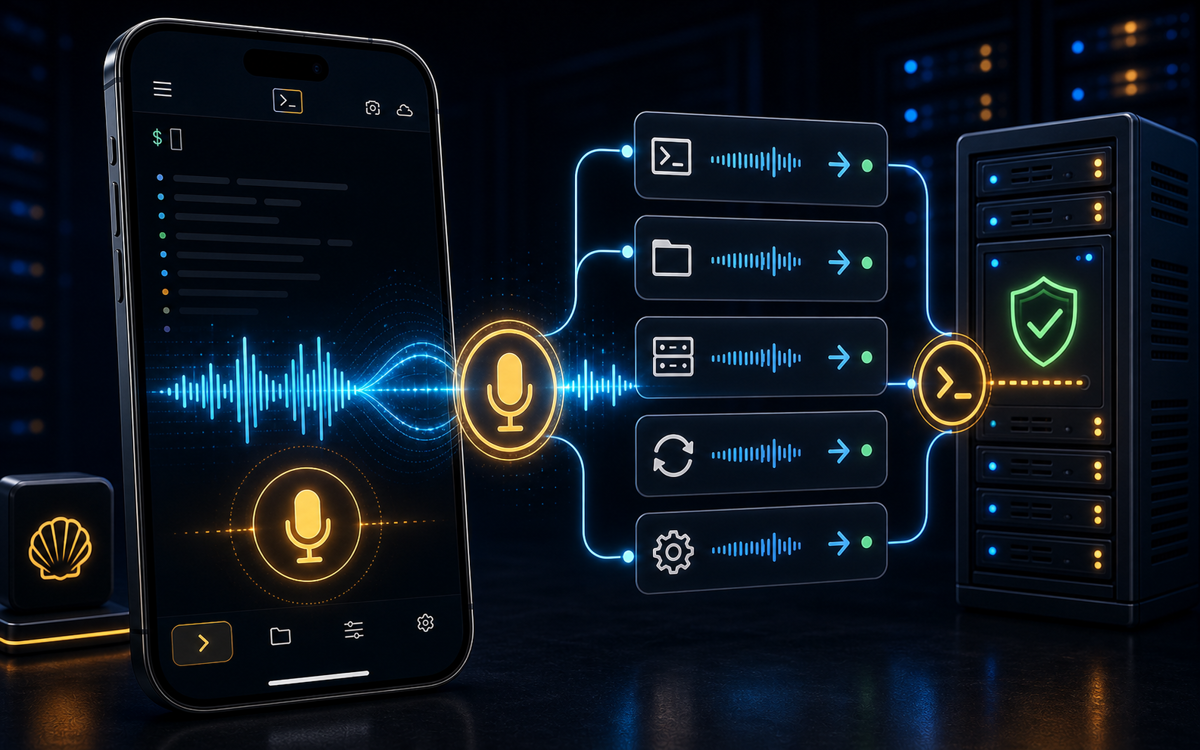
With ShellSage, you can control your terminal using voice dictation, making it easier to input commands and interact with your AI assistant, Sage. This guide will walk you through the steps to leverage voice control effectively on your mobile device.
How Does Voice Dictation Work in ShellSage?
Voice dictation in ShellSage allows you to speak commands directly into the terminal. This feature is particularly useful for developers and sysadmins who need to enter long or complex commands without the hassle of typing. To get started, simply tap the microphone icon located at the bottom-left corner of the app. Once activated, you can begin speaking, and your words will be transcribed into the live prompt.
"Voice dictation can save you time and reduce typos, especially for complex commands."
While you speak, the microphone icon will change to a cyan Stop button, indicating that the app is listening. ShellSage is designed to keep listening through short pauses, allowing you to take your time. It will only stop listening when you either tap the Stop button or remain silent for around five seconds. After dictating your command, all you need to do is press Enter to execute it.
What Are the Best Practices for Voice Dictation?
When using voice dictation, clarity is key. The app transcribes exactly what you say, so it's crucial to articulate your commands clearly. This is particularly important for words, file paths, and when communicating with Sage. For example, if you want to navigate to a specific directory, you might say:
cd /var/www/htmlHowever, keep in mind that for commands heavy in symbols, such as those involving pipes or redirections, it's more efficient to use the on-screen keyboard. You can always tap the screen at any point to switch modes, allowing you to combine both voice input and manual typing seamlessly.
"Combine voice dictation with manual input for the best results, especially for symbol-heavy commands."
Additionally, when speaking commands, it's helpful to use pauses strategically. This allows the app to capture everything you're saying without cutting off any parts of your command. If you find yourself making mistakes, remember that you can always edit the text before hitting Enter.
How Can You Use Voice Dictation for Common Tasks?
Voice dictation can significantly enhance your productivity when performing common tasks in the terminal. Here are a few examples of how to effectively use this feature:
- File Navigation: You can easily navigate through directories using voice. For instance, saying
cd /home/user/documentswill take you directly to the documents folder. - Running Scripts: If you have a script that you frequently run, you can dictate it directly. For example, saying
bash myscript.shwill execute your script without needing to type it out. - Interacting with Sage: You can also ask Sage for help by saying something like,
what does this command do?Sage will provide explanations and insights based on your query.
Using these voice commands can speed up your workflow significantly. For instance, if you want to check the disk usage of your system, you could dictate:
du -sh /home/userThis command will display the disk usage of your home directory, and you can quickly get the information you need without typing.
What Are the Limitations of Voice Dictation?
While voice dictation is a powerful feature, there are some limitations to be aware of. First, the app transcribes exactly what you say, which means that any mispronunciations or unclear speech can lead to incorrect commands being entered. For example, if you say rm -rf / instead of rm -rf my_folder, you could inadvertently delete important files.
"Always double-check your commands before executing them, especially when using voice dictation."
Another limitation is that the voice dictation feature is not ideal for symbol-heavy commands. For instance, if you need to use multiple pipes or redirections, it's often faster and more accurate to type those commands manually. You can switch back to the keyboard at any time by tapping the screen, allowing you to mix input methods as needed.
How to Get Started with Voice Dictation in ShellSage
To start using voice dictation in ShellSage, follow these simple steps:
- Open the ShellSage app on your mobile device.
- Tap the microphone icon located at the bottom-left corner of the screen.
- Begin speaking your command clearly into the microphone. Remember to use pauses for clarity.
- Once you finish speaking, tap the Stop button or wait for the app to stop listening after a brief silence.
- Review the transcribed command and make any necessary edits.
- Press Enter to execute your command.
This straightforward process allows you to harness the power of voice dictation, making your terminal experience on mobile more efficient and user-friendly.
⚡ Key takeaways
- ›Voice dictation in ShellSage enhances productivity by allowing spoken commands.
- ›Clear articulation is crucial for accurate command recognition.
- ›Mix voice input with manual typing for symbol-heavy commands.