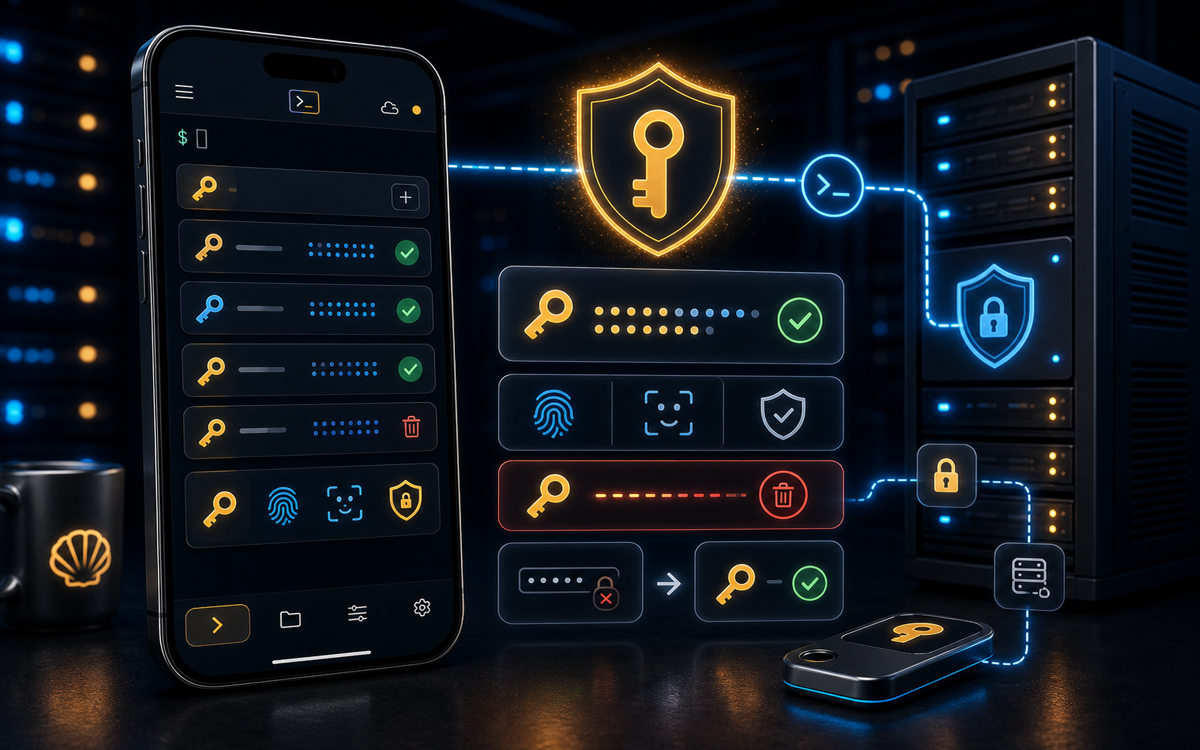
To disable password authentication in SSH, edit the sshd_config file to set PasswordAuthentication no and restart the SSH service. This enhances security by enforcing key-based authentication.
Why Disable Password Authentication?
Disabling password authentication in SSH is a critical step toward securing your server. Passwords can be guessed or brute-forced, making them less secure compared to key-based authentication. By relying solely on SSH keys, you significantly reduce the risk of unauthorized access.
SSH keys are cryptographic keys that provide a more secure way to log into your server. They consist of a public and private key pair. The public key is placed on the server, while the private key remains with you. Only someone with the private key can authenticate, effectively blocking anyone who tries to log in with just a password.
Relying solely on SSH keys significantly reduces the risk of unauthorized access.
Moreover, SSH keys can be further secured with passphrases, adding another layer of protection. This way, even if someone obtains your private key, they would still need the passphrase to use it.
How to Disable Password Authentication in SSH?
Disabling password authentication involves editing the SSH daemon configuration file. Here's a step-by-step guide:
Open the SSH daemon configuration file with a text editor. You might need root privileges:
sudo nano /etc/ssh/sshd_configFind the line that reads
#PasswordAuthentication yesand uncomment it by removing the#. Then changeyestono:PasswordAuthentication noSave the changes and exit the editor. In Nano, you can do this by pressing
CTRL + X, thenY, andEnter.Restart the SSH service to apply the changes:
sudo systemctl restart sshdOn some systems, the service might be named
sshinstead ofsshd. Adjust the command accordingly.
After these steps, password authentication will be disabled, and only clients with the appropriate SSH keys will be able to connect.
After disabling password authentication, only clients with the appropriate SSH keys can connect.
What if You Get Locked Out?
It's crucial to ensure that you have SSH key-based authentication set up before disabling password authentication. If not, you risk locking yourself out of your server. To avoid this, always test your SSH key access in a new terminal session before restarting the SSH service.
If you find yourself locked out, you might need physical or console access to the server to re-enable password authentication temporarily. This can be particularly challenging if your server is hosted in a remote data center without console access.
In my experience, I've learned the hard way to double-check my SSH key setup before making these changes. Once, I forgot to add my public key to the server and had to request console access from the hosting provider, which was both time-consuming and embarrassing.
How Does ShellSage Make This Easier?
Unlike traditional mobile SSH clients like Termius and JuiceSSH, which require manual configuration and lack advanced features, ShellSage simplifies this process on your phone. Its Sage AI can explain configuration options and validate your setup before you apply it, reducing the risk of locking yourself out.
ShellSage's blast-radius preview feature allows you to see the potential impact of changes before they are applied, which is particularly helpful when modifying critical configurations like sshd_config. This feature is something most SSH clients do not offer.
Additionally, with voice input, configuring SSH settings on ShellSage becomes more accessible, especially when you're on the go. You can simply dictate your commands and have ShellSage execute them for you.
Testing Your Configuration
After disabling password authentication, it's crucial to test your setup to ensure everything functions correctly. Open a new terminal session and attempt to SSH into your server:
ssh user@hostIf configured correctly, the server should not prompt for a password but instead require the SSH key for authentication. If you encounter any issues, check the server logs for details:
sudo tail -f /var/log/auth.logReview the logs for any errors related to SSH authentication. Common issues may include incorrect permissions on the .ssh directory or the authorized_keys file. Ensure that the .ssh directory is set to 700 and the authorized_keys file to 600:
chmod 700 ~/.ssh
chmod 600 ~/.ssh/authorized_keys
⚡ Key takeaways
- ›Disabling password authentication enhances SSH security by enforcing key-based authentication.
- ›Always set up SSH key-based authentication before disabling password authentication to avoid being locked out.
- ›ShellSage simplifies SSH configuration with AI assistance, blast-radius previews, and voice input.