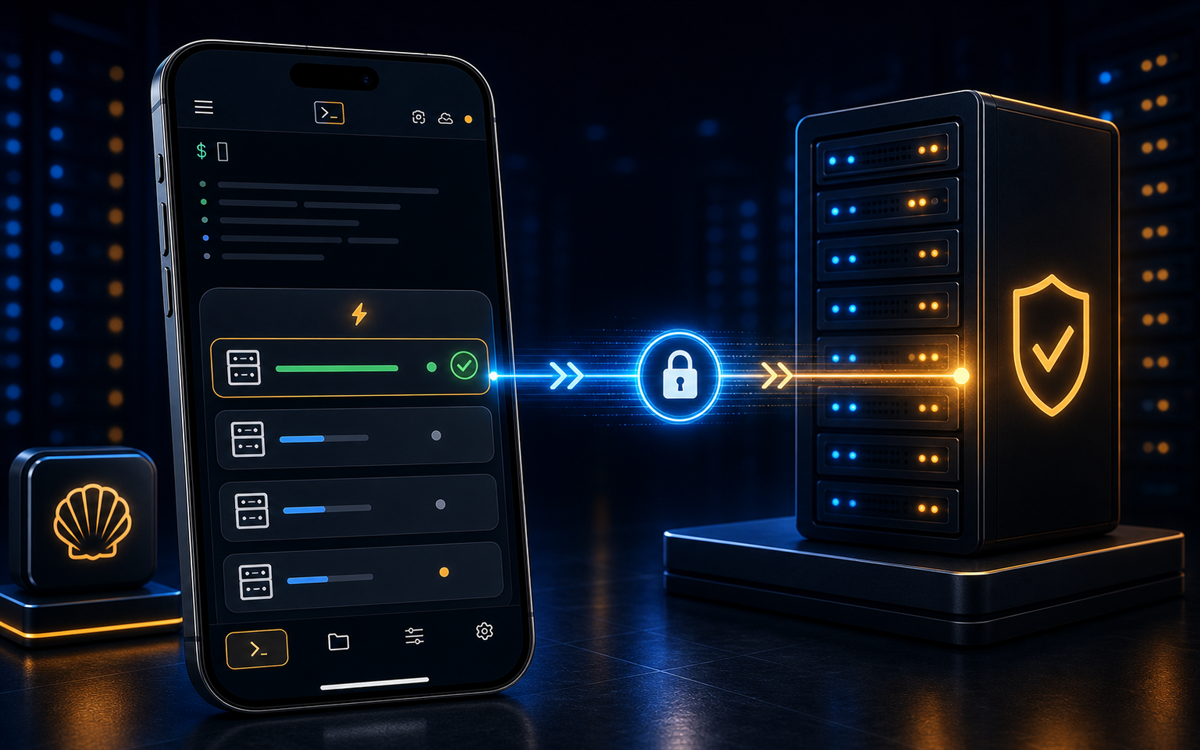
Connecting to a server over SSH from your phone allows you to manage systems on the go. Using ShellSage makes this process intuitive and efficient, combining the power of SSH with the convenience of mobile.
What is SSH and Why Use It?
SSH, or Secure Shell, is a protocol used to securely connect to remote servers or devices. It encrypts the data exchanged between your device and the server, ensuring that sensitive information remains protected from eavesdroppers. As a developer or system administrator, SSH is crucial for managing your servers remotely, executing commands, and transferring files securely.
With ShellSage, you can access SSH directly from your phone, allowing you to perform administrative tasks anywhere. The app provides features like voice input, an AI assistant named Sage, and a blast-radius preview for potentially dangerous commands, making it easier to manage your servers right from your pocket.
"SSH is the backbone of remote server management, and doing it from your phone opens up a world of flexibility."
In this tutorial, I will guide you through the steps to connect to a server using ShellSage, ensuring that you can manage your systems effectively from your mobile device.
How to Set Up ShellSage for SSH Connections
Before you can connect to a server, you need to ensure ShellSage is properly set up with your SSH credentials. Start by downloading the ShellSage app from your device's app store and installing it. Once installed, open the app and follow these steps:
- Launch ShellSage and tap on the '+' icon to add a new host.
- Enter the hostname or IP address of the server you want to connect to.
- Specify the username you will use to log in. Most commonly, this will be a user with sudo privileges.
- If your server requires an SSH key, you can add it here. Otherwise, you may be prompted for a password upon connection.
Once you've filled in the required details, save the host configuration. You should see a host card representing your server on the main screen of ShellSage.
"Adding hosts in ShellSage is straightforward, making it easy to manage multiple servers seamlessly."
At this point, you are ready to connect to your server. With your host configured, you can now tap on the host card to initiate the connection.
Connecting to Your Server Over SSH
To connect to your server, simply tap on the host card you created in the previous section. If your server requires biometric authentication, you will be prompted to authenticate with your fingerprint or face ID. Once authenticated, ShellSage will initiate the SSH handshake, and you will see a "CONNECTING" pill while the connection is established.
After a successful connection, the terminal interface will render, allowing you to type commands directly into the shell. You can use standard keyboard functions such as backspace, arrow keys, and tab completion to navigate the command line. For example, if you want to list the files in your home directory, you would type:
ls -laThis command lists all files, including hidden ones, in a detailed format. You can execute any command you would normally run in a terminal on your server.
"The ability to execute commands from your phone makes ShellSage an invaluable tool for system administrators on the go."
When you need to disconnect from the server, simply pull down to cleanly disconnect your session. This action ensures that any ongoing processes are handled properly before you exit.
Managing Long-Running Tasks and Sessions
One potential challenge of using SSH from a mobile device is managing long-running tasks. On Android, ShellSage allows sessions to stay connected even when you switch to other apps, thanks to a foreground service. You will notice a "ShellSage session active" notification while the session remains live. However, if the session is idle for about ten minutes, you will receive a warning message asking if you want to stay connected.
On iOS, the situation differs slightly due to system limitations. If you background the app, the SSH session will drop, and you will need to reconnect when you return to ShellSage. To manage long-running tasks effectively on iOS, consider using tools like tmux or screen on the server. These tools allow you to create persistent sessions that can be reattached even after a disconnection. To start a new tmux session, you would use:
tmux new -s mysessionThis command creates a new tmux session named "mysession." You can then run your long tasks within this session, and if you need to disconnect, simply detach from the session using Ctrl-b d. When you reconnect later, you can reattach to the session with:
tmux attach -t mysessionUsing tmux or similar tools allows you to maintain control over processes even when your connection is interrupted.
What Are the Security Considerations When Using SSH on Mobile?
When connecting to a server over SSH from your phone, security should always be a top priority. Always ensure that you are using strong, unique passwords or SSH keys for authentication. If possible, configure your server to use key-based authentication instead of passwords, as it provides a stronger level of security.
Another important consideration is the security of your mobile device. Make sure to enable biometric authentication for ShellSage to protect against unauthorized access. Additionally, avoid connecting to public Wi-Fi networks when managing sensitive servers, as these networks can be less secure. If you must use a public connection, consider using a VPN to encrypt your internet traffic.
"Security is paramount when managing servers remotely, so always prioritize best practices to protect your data."
Finally, regularly update your ShellSage app to benefit from the latest security features and improvements. Keeping your app up to date ensures that you are protected against potential vulnerabilities.
Conclusion
Connecting to a server over SSH from your phone using ShellSage is a powerful way to manage your systems on the go. With its user-friendly interface, built-in security features, and robust functionality, ShellSage simplifies remote server management. By following the steps outlined in this guide, you can confidently connect to your servers and execute commands from anywhere.
⚡ Key takeaways
- ›SSH allows secure remote management of servers.
- ›ShellSage simplifies SSH access from mobile devices.
- ›Using tools like tmux can help manage long-running tasks.