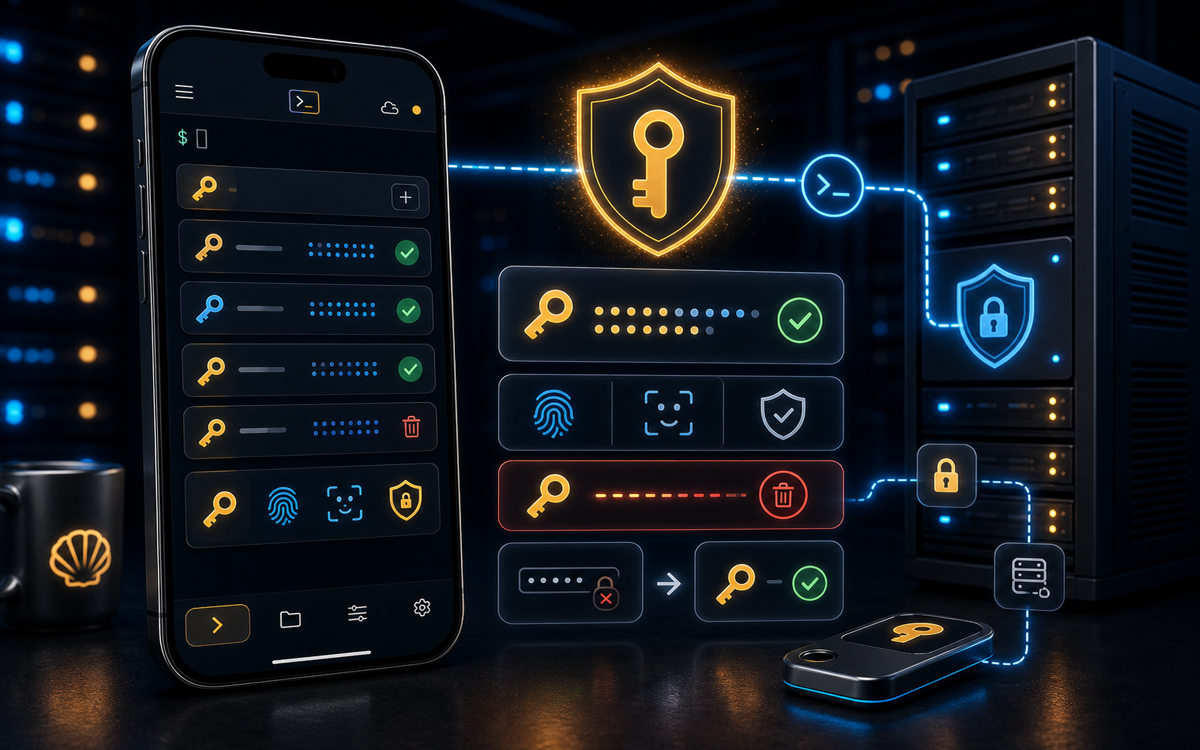
Using biometric protection like Face ID or fingerprint authentication can significantly enhance the security of your SSH keys in ShellSage.
What is Biometric Protection in ShellSage?
Biometric protection in ShellSage ensures that your SSH keys are secured by your unique biological traits, making unauthorized access difficult. After your first sign-in, the app reopens behind Face ID or fingerprint authentication, providing an added layer of security. This means that even if someone has access to your device, they cannot easily access your SSH keys without your biometric data.
Biometric authentication adds a layer of security that traditional passwords simply cannot match.
To use this feature, you need to enable biometrics on your device, such as Face ID or fingerprint recognition. Once enabled, you can utilize this feature every time you access the ShellSage app. This approach not only makes accessing your SSH keys more convenient but also ensures that your sensitive data remains protected.
How to Enable Biometric Protection for ShellSage?
Enabling biometric protection in ShellSage is a straightforward process. First, make sure your device supports biometric authentication and that you have set it up correctly in your device settings. Once that’s done, follow these steps to enable biometric protection:
- Open the ShellSage app on your device.
- If you are not signed in, you will be prompted to sign in with your password.
- After signing in, navigate to your settings by tapping on the gear icon.
- Look for the option labeled "Biometric" and toggle it ON.
Once you have enabled biometric protection, every time you reopen the app, you will be prompted to authenticate using your Face ID or fingerprint. This is a great way to ensure that your SSH keys are protected even when your device is unlocked.
Enabling biometric authentication means you can access ShellSage with just a glance or a touch, making it both secure and convenient.
How to Use Biometric Protection for Individual Hosts?
ShellSage allows you to enforce biometric protection on a per-host basis. This means you can choose which hosts require biometric authentication and which do not. This feature is particularly useful if you work with multiple environments, including production and development.
To enable biometric protection for a specific host, you need to either add a new host or edit an existing one. Here’s how you can do that:
- Open the ShellSage app and navigate to the host management screen.
- If adding a new host, tap the “Add Host” button. If editing an existing host, tap on the host card.
- In the host settings, look for the toggle labeled "Require biometric" and turn it ON.
- Save the changes.
Once biometric protection is enabled for a host, every time you tap on that host's card, you will be prompted to authenticate using your biometric data. If you have not enrolled any biometrics, the app will fall back to your device passcode, ensuring that you always have a way to access your hosts.
Why Should You Use Biometric Protection for Production Hosts?
Using biometric protection for production hosts is highly recommended. Production environments often contain sensitive data and critical applications, making them prime targets for unauthorized access. By enabling biometric protection, you add an additional layer of security that can help prevent unauthorized users from accessing these critical systems.
For production hosts, using biometric authentication is not just a recommendation; it’s a necessity.
Moreover, the small lock badge on the host card confirms that biometric protection is active. This visual cue helps you quickly identify which hosts are secured, allowing for easier management of your SSH environments. If you ever find that the authentication is canceled, you can simply tap the host card again to retry the authentication process.
What Are the Limitations of Biometric Protection?
While biometric protection offers enhanced security, it's essential to understand its limitations. For instance, if biometrics are not enrolled on your device, the app will revert to your device passcode. This means that if you frequently change devices or reset your biometric settings, you might encounter accessibility issues.
Additionally, biometric systems can sometimes fail due to environmental factors. For example, if your fingers are wet or dirty, fingerprint recognition may not work effectively. Similarly, Face ID may struggle in low-light situations or if your face is obscured. It’s important to keep these limitations in mind and ensure you have alternative authentication methods available.
Conclusion
Implementing biometric protection for your SSH keys in ShellSage is a valuable step towards enhancing your security posture. With easy setup and seamless integration into your workflow, you can protect your sensitive data while enjoying the convenience of quick access. As a Site Reliability Engineer, I've found that combining biometric security with SSH practices not only secures my connections but also streamlines my workflow.
By following the steps outlined above, you can harness the power of biometrics to protect your SSH keys, ensuring that your critical environments remain secure. With ShellSage, you can focus on managing your systems confidently, knowing that your access points are well-guarded.
⚡ Key takeaways
- ›Biometric protection enhances SSH key security in ShellSage.
- ›You can enable biometric authentication for individual hosts.
- ›Production hosts should always have biometric protection enabled.